Most people would focus on cooking methods and seasoning, but expert pitmasters know that trimming is where great brisket begins. Proper trimming serves three crucial purposes: it removes excess fat that won't render during cooking, creates an even surface for consistent cooking, and helps develop that coveted bark. Uneven trimming can lead to inconsistent cooking, while over-trimming can leave your brisket dry and tough.
If you're handling a premium Wagyu or your first grain-fed brisket, proper trimming is what separates backyard cooks from pitmasters. Let me show you exactly how to trim any type of brisket with confidence.
1. Understanding Different Brisket Types Before You Trim
Your trimming approach needs to adapt based on your brisket type. Here's what you need to know:
Wagyu Brisket

Trimming Wagyu brisket requires extra care - that beautiful marbling means business. The fat is notably softer and more delicate than regular briskets, even when cold.
Here's what's different:
- Keep your knife strokes shorter and more precise
- Chill for at least 2 hours before trimming (that expensive fat needs to be extra firm)
- Save every bit of that trimmed fat - Wagyu tallow is liquid gold for future cooks
Grain-Fed Brisket

Most common in supermarkets and butcher shops, these briskets feature firm, white fat that's perfect for learning proper trimming technique:
- Standard 1/4 inch fat cap works well
- Fat renders predictably during cooking
- Responds well to traditional trimming methods
Grass-Fed Brisket
That yellow-tinted fat is the signature of grass-fed beef. But it does need special attention:
- Fat is typically denser and may require more pressure when trimming
- Consider leaving the fat cap slightly thicker (up to 3/8 inch) as it can render differently
- Pay extra attention to the flat section, which tends to be leaner
2. Temperature Makes Perfect Trimming
Now that you know which brisket you're working with, let's talk about the most overlooked factor in successful trimming - temperature.
Cold Brisket Benefits:
- Fat stays firm and cuts clean instead of smearing
- Easier to achieve consistent fat cap thickness
- Better knife control for precise cuts
- Maintains meat structure during trimming
Temperature Guide Before Trimming:
- Optimal meat temperature: 35-38°F
- Minimum chill time: 1 hour
- Ideal chill time: 2-3 hours
- Warning signs it's too warm: Fat feels soft or sticky on the knife
Tips for Temperature Management:
- Work in 15-minute sessions to keep the meat cold
- Return to fridge if fat starts feeling soft
- Clean your knife with hot water between sections
- If your kitchen is warm, keep a second brisket chilling as backup
3. Essential Tools You'll Need To Trimming Brisket

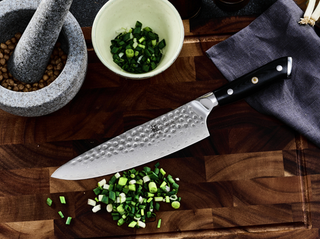
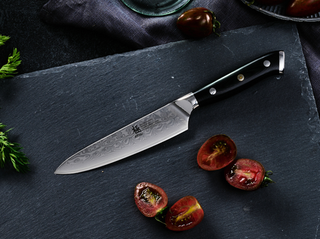
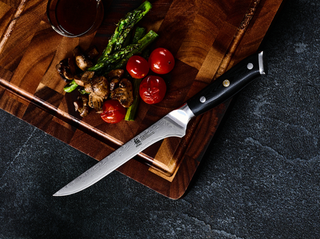
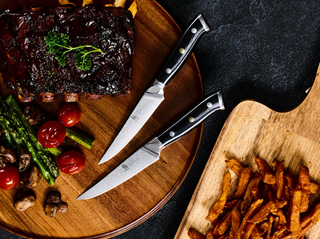
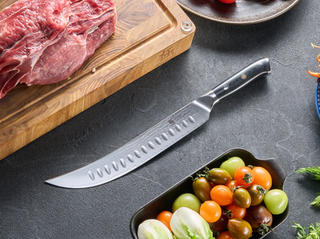
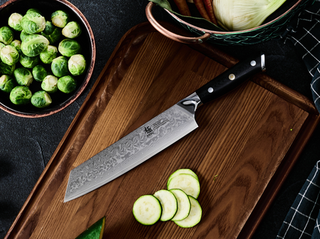
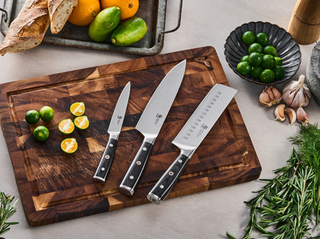
A quality boning knife with a narrow, curved blade allows you to work with surgical precision, smoothly separating fat layers and removing silver skin while preserving the meat's integrity. The blade's flexibility lets you follow the natural contours of the brisket, ensuring consistent fat cap thickness throughout.
You'll also need:
- A stable, spacious wooden cutting board that provides ample workspace
- Clean paper towels for maintaining a dry work surface
- About an hour but ideally two of chill time (for the brisket, not you)
4. How to Select Brisket For Trimming
Look for these key features:
- Good marbling throughout
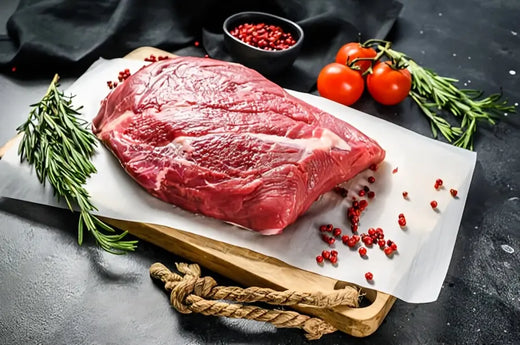
- Thick, flat appearance
- Intact fat cap
- Weight between 12-16 pounds for whole packer

Chill your brisket for at least one hour before trimming because cold fat cuts more cleanly and precisely.
5. Specific Trimming Techniques for Each Brisket Type

1) Trimming Wagyu Brisket:
Before you even touch that expensive piece of meat, let's get something straight - Wagyu fat behaves differently. It's softer, more delicate, and yes, more expensive to mess up. Here's exactly how to handle it:
First Things First: Temperature Prep
- Chill your Wagyu to 34-36°F - trust me, it needs to be colder than your regular brisket
- Set a timer for 10-minute work intervals
- Keep a second cutting board in the fridge for quick swaps if your meat starts warming up
Let's Start Trimming:
- Begin with the fat cap facing up
- Make your first cut at the thickest point
- Keep your strokes short, about 2-3 inches at a time
- Target 3/8 inch thickness (about two quarters stacked)
- Handling the Point (The Tricky Part)
- Start where the point meets the flat
- Use gentle sawing motions to separate, following the natural seam
- Leave a bit more fat here than you normally would
Pro Tip: Save every bit of that trimmed Wagyu fat. It's literally gold for future cooks - perfect for making tallow or enhancing other dishes.
2) Grain-Fed Brisket:
This is your standard supermarket brisket, and it's perfect for mastering your technique. The fat is firmer and more forgiving:
Starting Point:
- Position fat-side up on your cutting board
- Locate the thickest part of the fat cap - that's where we begin
The Main Event:
- Fat Cap Trimming
- Use long, confident strokes (6-8 inches)
- Aim for exactly 1/4 inch thickness
- Work in parallel strips, like mowing a lawn
- Point and Flat Separation
- Find the seam between point and flat
- Make a clean cut through the fat layer
- Follow the natural separation
- Edge Work
- Square off those edges with straight cuts
- Round any sharp corners that might burn
- Remove that hard knuckle of fat completely
3) Grass-Fed Brisket
Don't let that yellow fat throw you off - it's completely natural and needs its own approach:
Temperature is Critical:
- Keep it at 35°F or colder
- Work quickly - this fat warms up fast
- Have your fridge ready for quick cooling breaks
The Trimming Process:
- Fat Cap Work
- Start with firmer pressure than usual
- Keep thickness between 1/4 to 3/8 inch
- Watch for uneven fat distribution
- The Flat Portion (This Needs Extra Care)
- Look for thin spots - they're more common in grass-fed
- Leave slightly more fat on leaner areas
- Be extra gentle around the edges of the flat
- Final Touches
- Double-check your thin spots
- Round off any sharp edges
- Clean up any loose pieces that might burn
Quick Tip: If you're new to grass-fed, practice your technique on the thicker areas first. The fat distribution can be surprising if you're used to grain-fed beef.
6. Common Mistakes When Trimming Brisket and Solutions

1) Over-trimming the Fat Cap
Over-trimming usually happens when you're focused on one spot too long. Instead of trying to get it perfect in one area, make passes across the entire brisket. This prevents creating divots that can dry out during cooking.
- Removing too much fat leaves the meat vulnerable to drying out
- Some fat is necessary for basting during the long cooking process
- If you can see red meat through the fat layer, you've gone too far
2) Making Sawing Motions
When your knife isn't sharp enough, you might resort to sawing motions that tear rather than slice. This creates jagged edges that affect cooking. Instead:
- Test your knife's sharpness before starting
- Use long, smooth pulling strokes
- Let the blade's weight do most of the work
- Clean and hone your blade if you notice it dragging
When your knife starts dragging instead of gliding, that's your signal that either the meat is warming up or your blade needs attention. Think of it like skating - you want that smooth, effortless motion.
3) Creating Uneven Fat Depth
Most beginners press too hard with the knife's tip while keeping the heel too light. This creates a wave pattern in your fat cap. Instead:
- Keep your knife parallel to the surface
- Apply even pressure along the entire blade length
- Use your free hand to feel the fat thickness as you trim
- If you notice divots forming, adjust your blade angle immediately
4) Starting With the Wrong Part
Many start trimming wherever their knife first touches the brisket. This random approach leads to inconsistent results. Instead:
- Begin at the thickest part of the fat cap
- Work in methodical sections
- Complete one section before moving to the next
- Use your previous cuts as a guide for the next section
5) Fighting With Silver Skin
Trying to remove silver skin in large pieces often leads to gouging the meat underneath. Instead:
- Start with a small corner
- Angle your blade slightly upward
- Use short, controlled strokes
- Let the knife's curve do the work
- Remove it in smaller sections if needed
7. FAQ

Can I use the same trimming technique for Wagyu brisket?
Wagyu brisket requires more delicate handling due to its intense marbling. Use shorter strokes and work extra cold - consider chilling the brisket for 2 hours first. The high fat content makes it easier to accidentally remove too much during trimming.
Why does the fat get gummy when I'm trimming?
If your fat starts feeling gummy or sticky, it's usually because either your brisket has warmed up too much or your blade needs cleaning. Stop, clean your blade with hot water, and return the brisket to the refrigerator for 30 minutes before continuing.
What's the difference between trimming grass-fed vs grain-fed brisket?
Grass-fed briskets typically have a yellower, denser fat cap that requires more controlled pressure when trimming. The fat distribution is also less even, so you'll need to check thickness more frequently as you work.
How should I adjust my trimming for different smoker types?
For offset smokers, leave slightly more fat on the side facing your heat source. For vertical smokers where fat can drip onto your heat source, trim more aggressively to prevent flare-ups. Electric smokers need less fat trimming overall since they provide more consistent heat.
Is there a way to practice trimming technique before working on an expensive brisket?
Practice the sliding motion and blade angle on cheaper cuts like chuck roast or bottom round. These cuts also have silver skin and fat layers, which can be very helpful for developing your knife control without risking an expensive brisket.
What should I do if I accidentally cut too deep in one area?
If you create a divot deeper than ¼ inch, don't try to even out the surrounding area to match. Instead, leave the surrounding fat slightly thicker to help protect that spot during cooking. The key is preventing further damage rather than trying to "fix" the thin spot.
