


Baking turkey burgers in your oven is an easy, clean and more controllable way to prepare delicious and juicy burgers from the comfort of your own home. Compared to frying or grilling, baking will let the burgers cook evenly and without much splatter. This is a highly convenient way to cook on weekday evenings or in a smaller kitchen. In this article, we will provide an overview of cooking times and temperatures to help you determine the right time to cook.
Key takeaways
-
Oven temperature: 375–400°F (190–205°C)
-
Target internal temperature: 165°F (74°C)
-
Common thickness to time ranges (internal temp as the target):
-
1/4–1/3 inch thin patties: 11–13 minutes
-
1/2 inch medium patties: 15–20 minutes
-
3/4 inch thick patties: 22–30 minutes
-
-
You can rely on a thermometer for accuracy; use time as a guide and flip as needed for even doneness
How Long to Cook Turkey Burgers

Preparation and setup: Begin by gathering everything you’ll need: ground turkey, a pinch of salt and pepper, optional binders such as a small egg or a tablespoon of breadcrumbs, and your favorite toppings. Line a baking sheet with parchment or foil for easy cleanup, and have a meat thermometer ready. A quick safety reminder: wash hands and surfaces after handling raw turkey.
Preheating: Set the oven to 375–400°F (190–205°C). A hot start helps the burgers cook evenly and develop a nice crust.
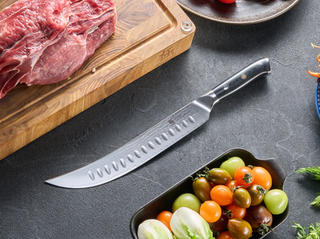
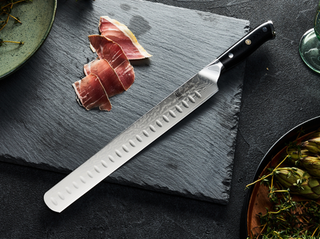
Forming the patties: Use a sharp Japanese Chef's knife to divide the turkey into evenly sized portions, then shape each into patties about 1/4–1/2 inch thick. Keep the surface smooth and uniform to promote even cooking. If the mixture feels loose, you can add a small amount of binder (like a lightly beaten egg or a tablespoon of breadcrumbs per pound)—just don’t overwork the meat, or the burgers may become dense.
Arranging for baking: Place the patties on the prepared baking sheet with space between them to allow heat to circulate. If you want crisper edges, you can lightly brush the tops with a tiny amount of oil.
Baking and flipping: Bake for about 11–13 minutes if the patties are thin, 15–20 minutes for standard thickness, or 22–30 minutes for thicker patties. About halfway through, flip the patties once to promote even browning on both sides. If the burgers are browning unevenly, rotate the baking sheet to ensure consistent heat exposure.
Checking doneness: Insert a meat thermometer into the center of a patty to check doneness. The internal temperature should reach 165°F (74°C). If you’re close to the time range’s end but not yet there, continue cooking in short 2–3 minute increments, rechecking each time.
Resting and serving: Once done, remove the burgers from the oven and let them rest for 3–5 minutes. Resting helps retain juiciness. Assemble on buns with your preferred toppings, such as lettuce, tomato, onions, cheese, and sauces, or keep them as lettuce wraps for a lighter option.
Common Alternatives and Variants

Low-fat vs high-fat turkey options
-
For leaner turkey (around 93% lean), moisture retention can be a challenge during baking. To keep burgers juicy, consider adding a small amount of olive oil, finely grated onion, or other moisture-rich mix-ins. A mid-range fat ratio like 85/15 provides a good balance between flavor and calories.
-
Higher-fat blends (around 80/20) naturally lock in more moisture and yield richer flavor, but come with more calories. Pair these with lighter toppings and sides to keep the overall meal balanced.
-
Practical note: Start with a middle-ground ratio (about 85/15) when experimenting, then adjust based on texture and juiciness in your oven.
Binders: egg whites, eggs, and bread crumbs
-
Egg whites are good for binding without adding too much fat. Use about 1 egg white per pound of turkey for firmer burgers.
-
Whole eggs add more binding and flavor but also more fat. If using whole eggs, reduce other fats slightly to keep the dish balanced.
-
Breadcrumbs help with structure; you can substitute with rolled oats or crushed crackers for different textures. Typical use is 1–2 tablespoons per pound of meat.
-
Practical tip: Start with small amounts of binder (5–15% of the meat weight) and adjust based on how well the patties hold their shape.
Dairy substitutes and cheese timing
-
Cheese can boost moisture and flavor. If adding cheese, place a small amount inside the patty or top with cheese during the last few minutes of baking to melt without overcooking.
-
Low-fat cheese or cheese sauces can lower the overall fat content while still delivering creaminess. For a lighter version, skip cheese inside the patty and add toppings instead.
-
Timing guidance: place cheese on during the final 2–4 minutes of bake time or immediately after removing from the oven to allow it to melt with residual heat.
-
Practical note: Choose cheeses with strong flavor so less cheese still delivers impact; a little goes a long way.
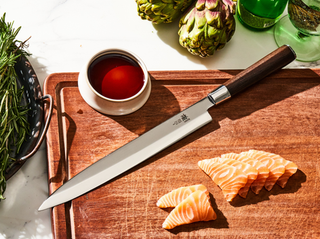
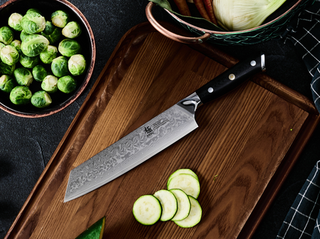
When experimenting with turkey burger alternatives, balance fat content, binders, and cheese to achieve juicy, flavorful results. Using precise cuts and even portions makes a big difference, and having the right tools—like a Kyoku Japanese kitchen knife—can make prep faster, easier, and more enjoyable.

FAQ
Should you flip the patties?
Yes. Flip once halfway through to promote even browning and doneness on both sides, especially for thicker patties.
Can you use a pan instead of the oven?
Yes, but the oven method offers more even heat and less hands-on time. If using a pan, ensure the center of each patty reaches 165°F (74°C) before serving.
How to tell it’s done without overcooking?
Rely on an instant-read thermometer. When the center hits 165°F (74°C), remove and rest for 3–5 minutes. If you don’t have a thermometer, use the time ranges as a guide and check for firm, opaque centers with no pink.
What if the patties look dry after baking?
Consider adding a small amount of moisture-rich mix-ins (grated onion, a teaspoon of olive oil per pound, or finely grated vegetables) in your next batch. Also ensure you don’t overbake beyond 165°F.

